1. Computer controlled cutting
Group assignment
characterize your lasercutter’s focus, power, speed, rate, kerf, and joint clearance document your work (individually or in group)
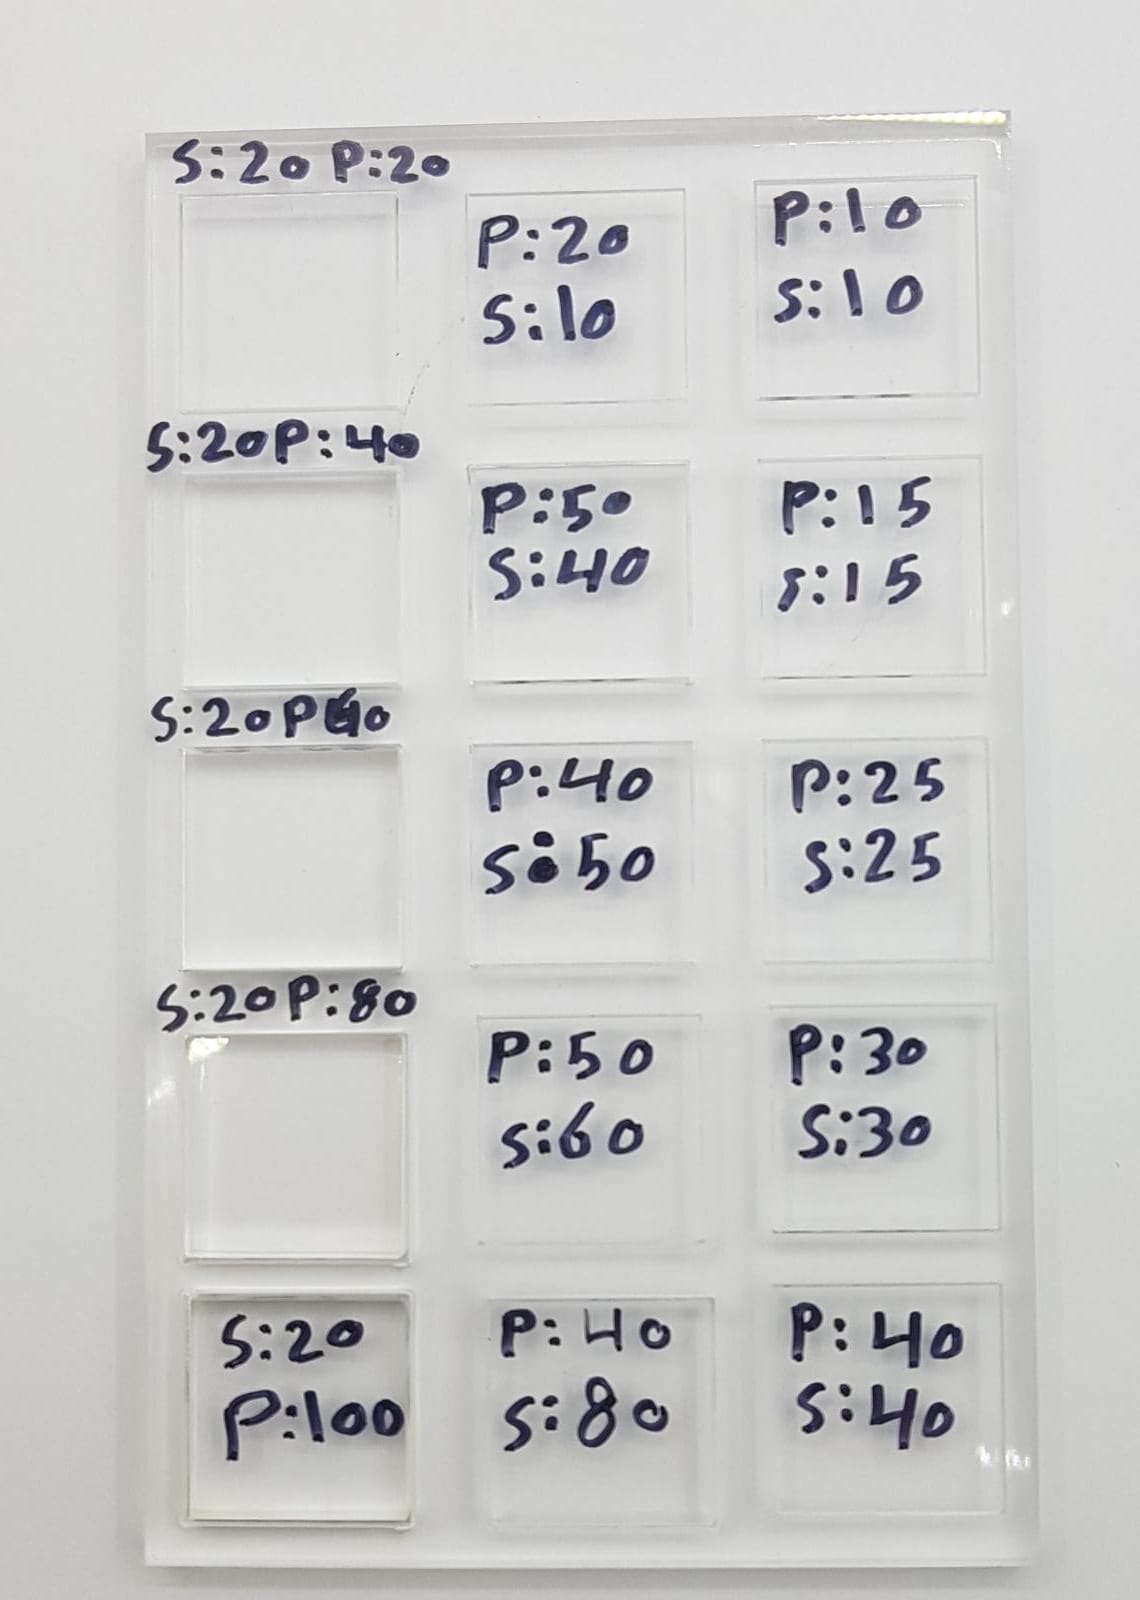
Speed vs Power
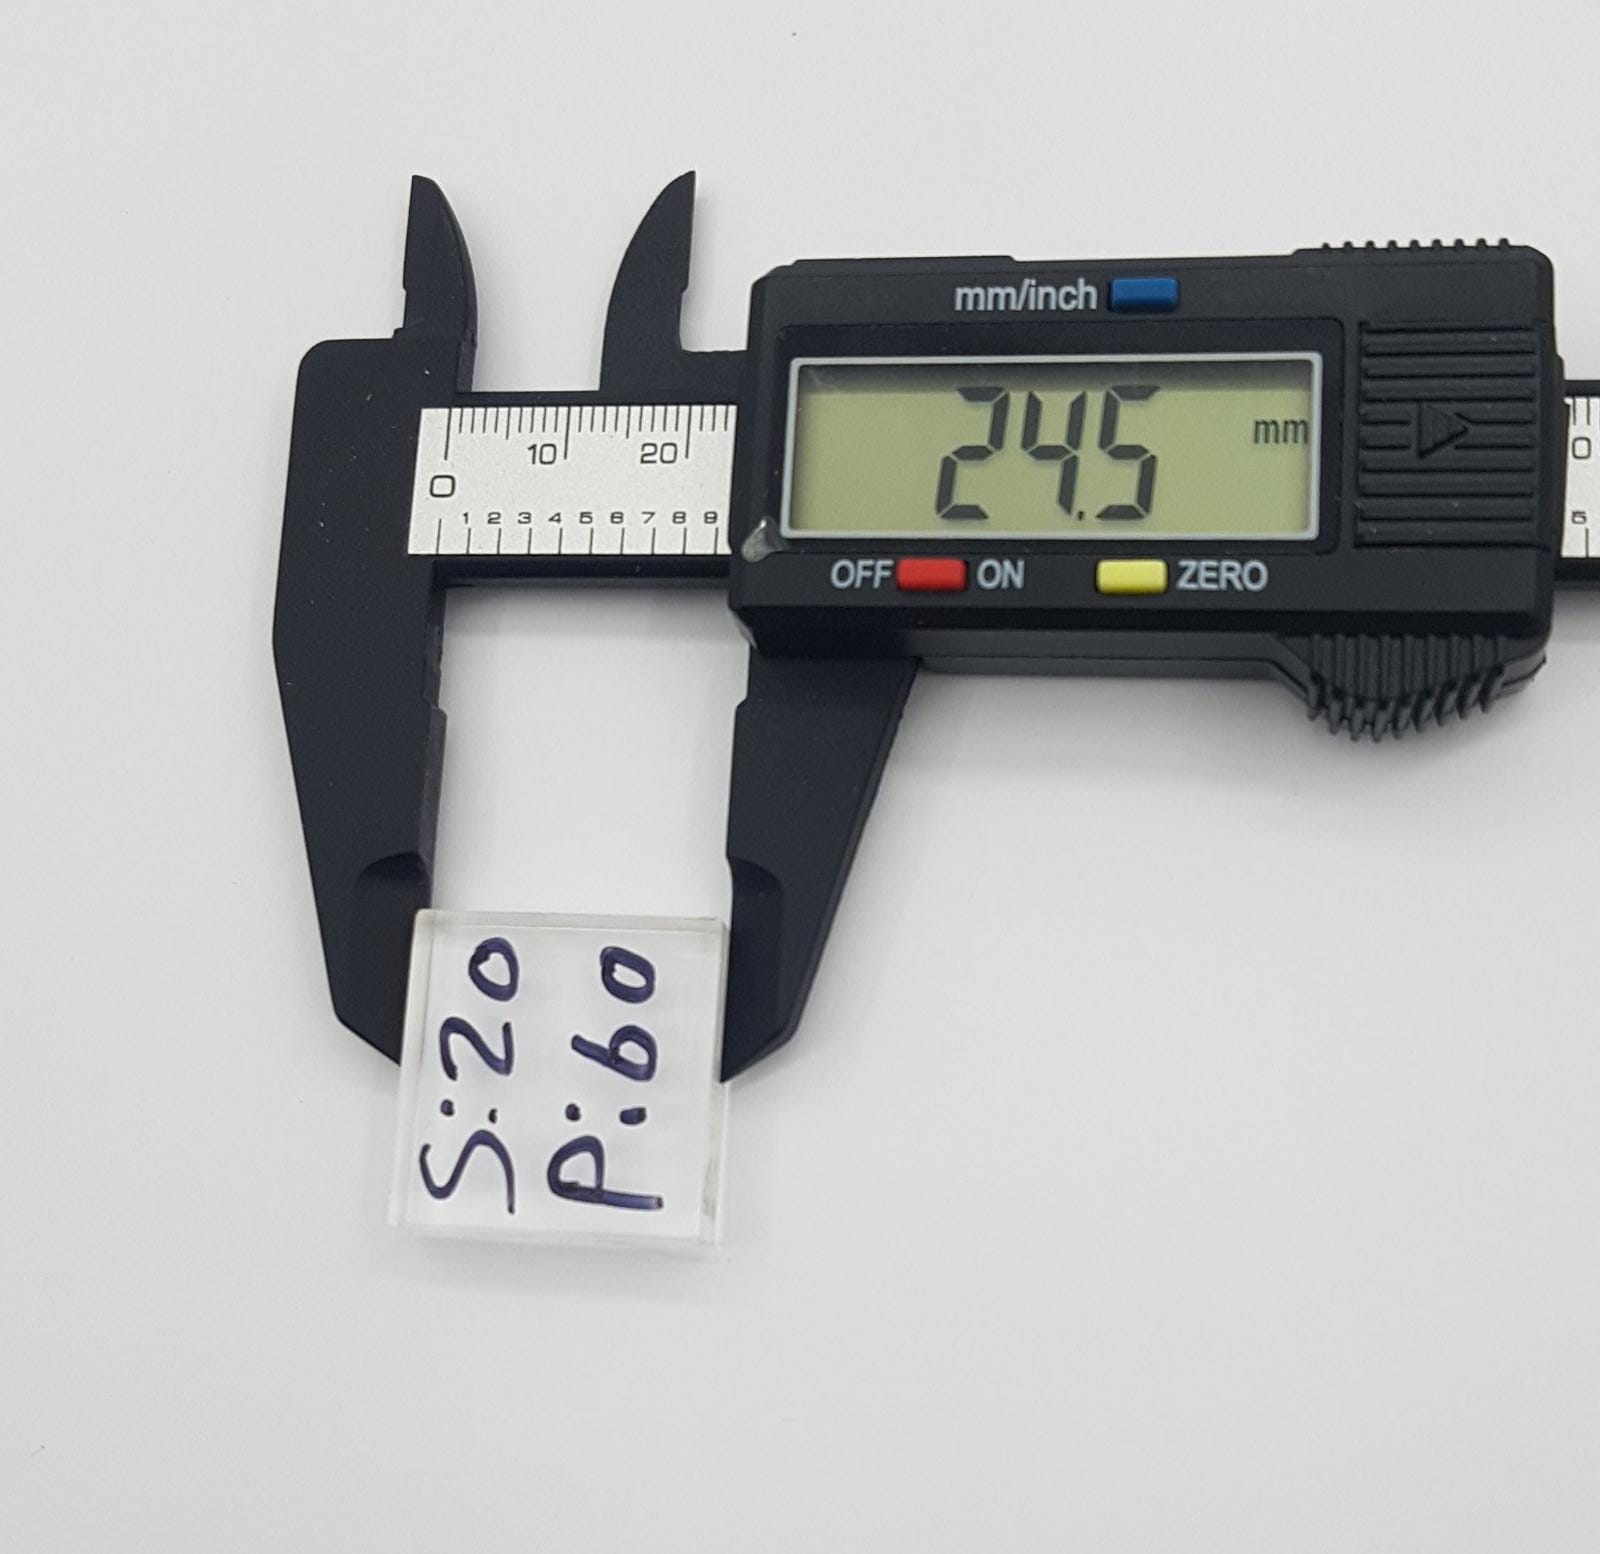
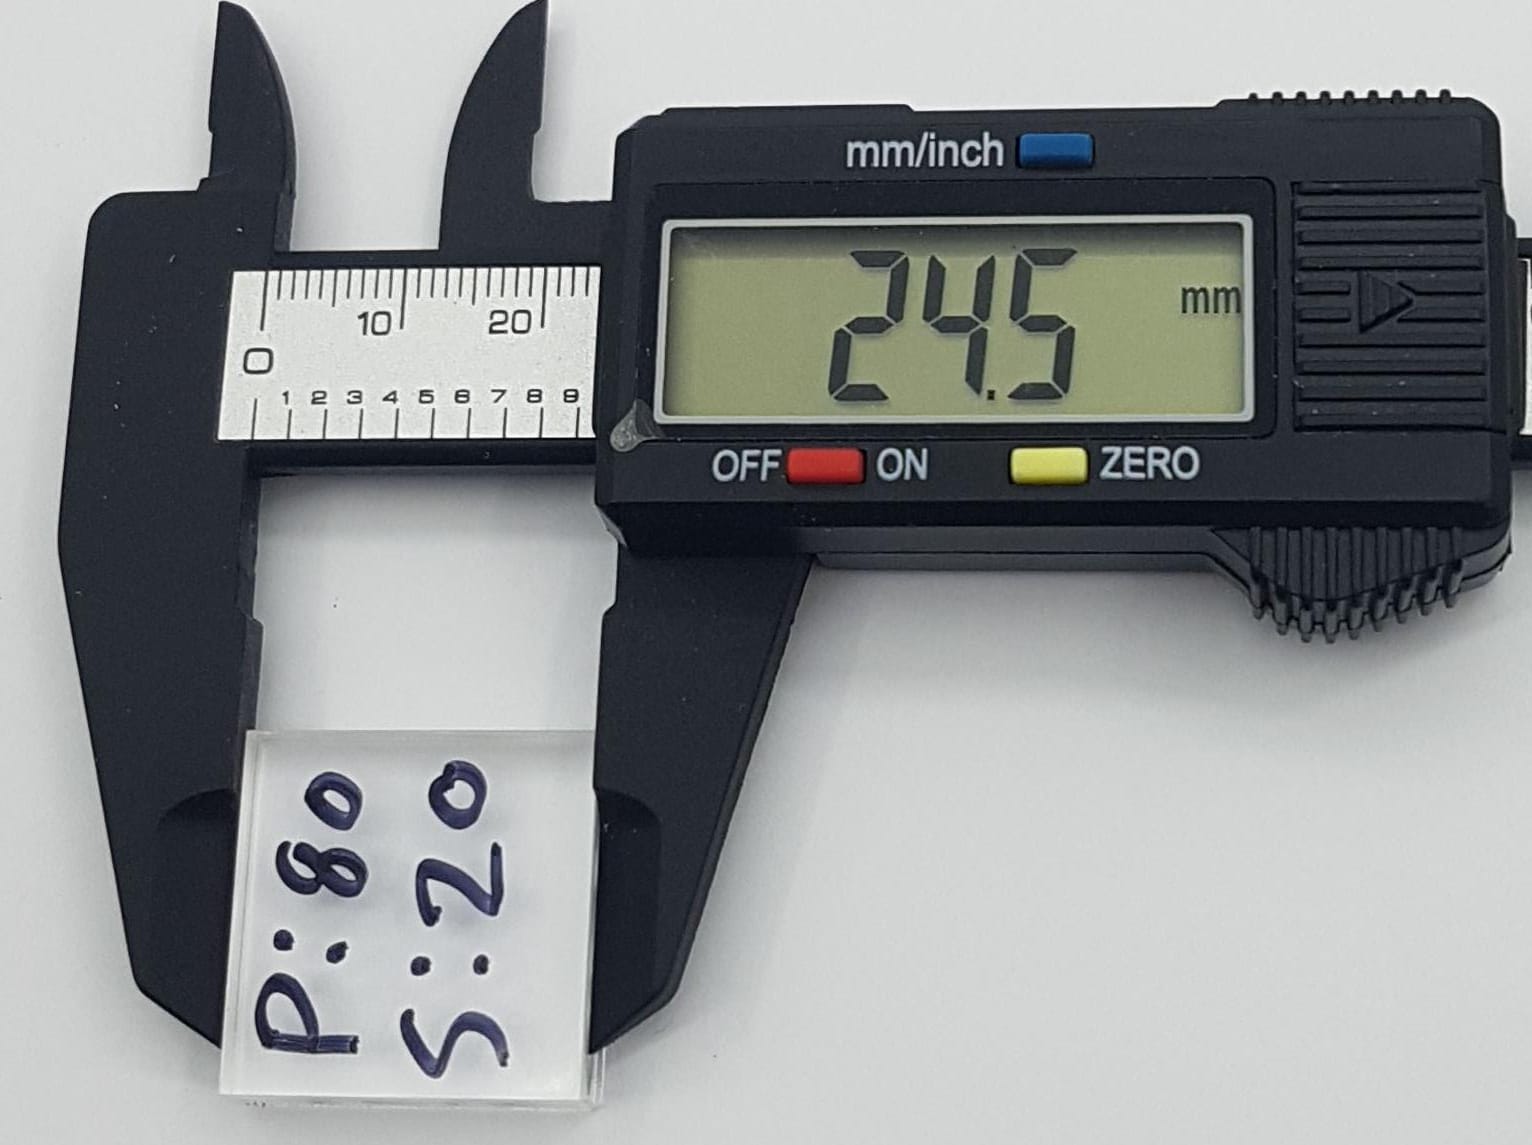
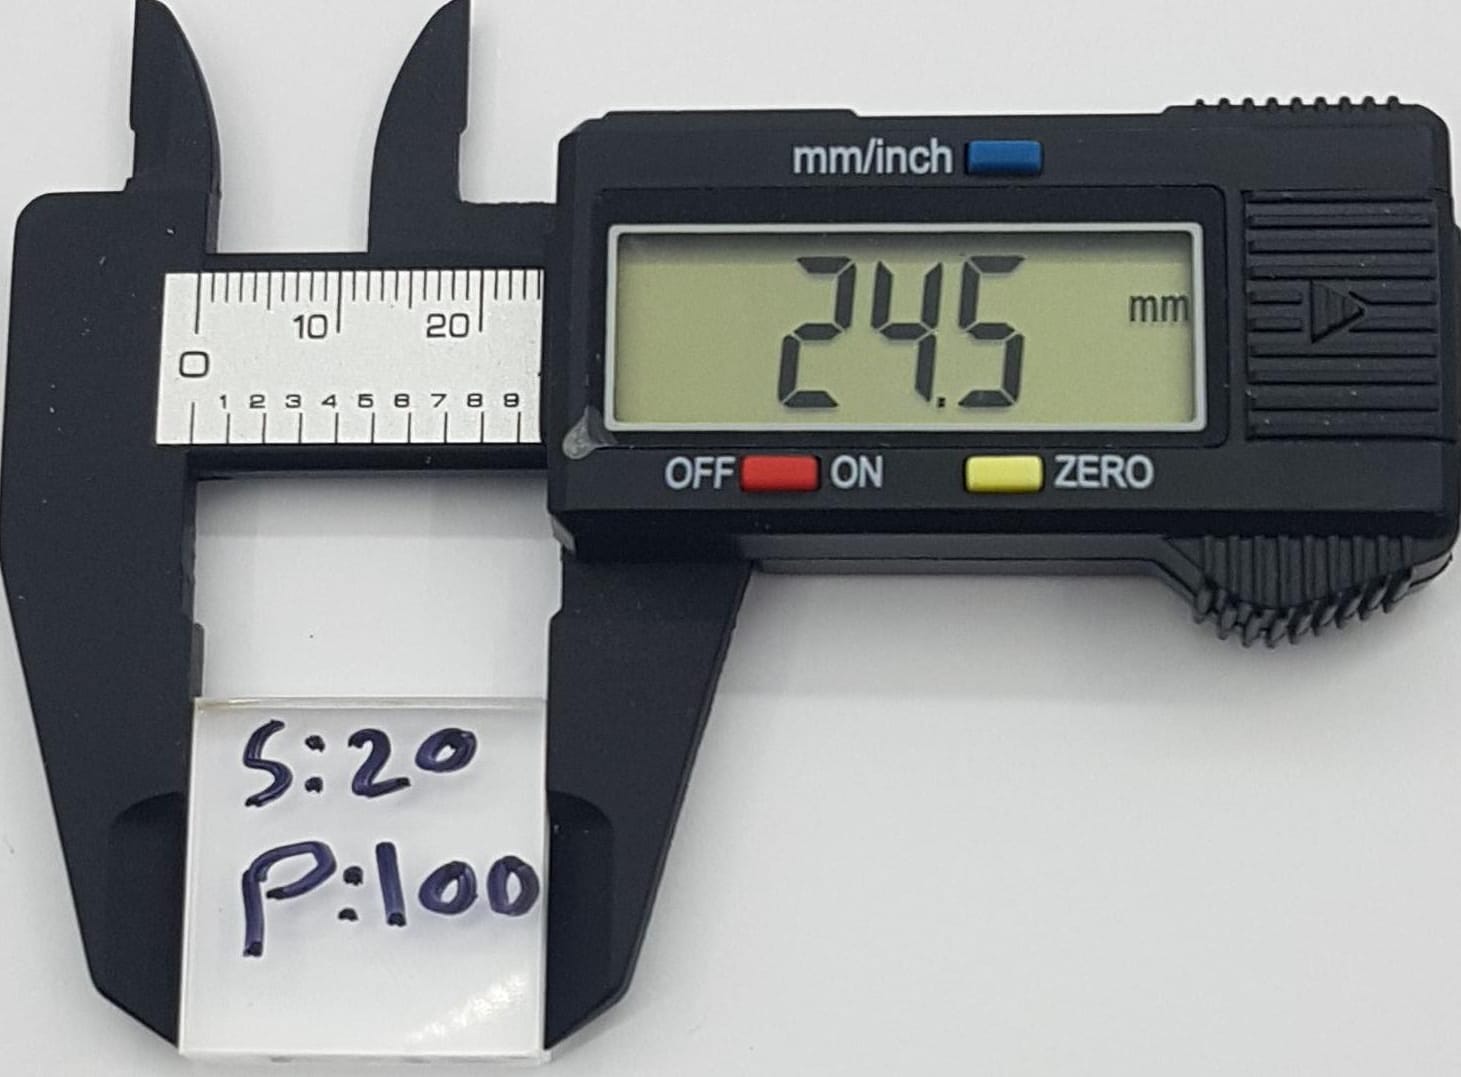
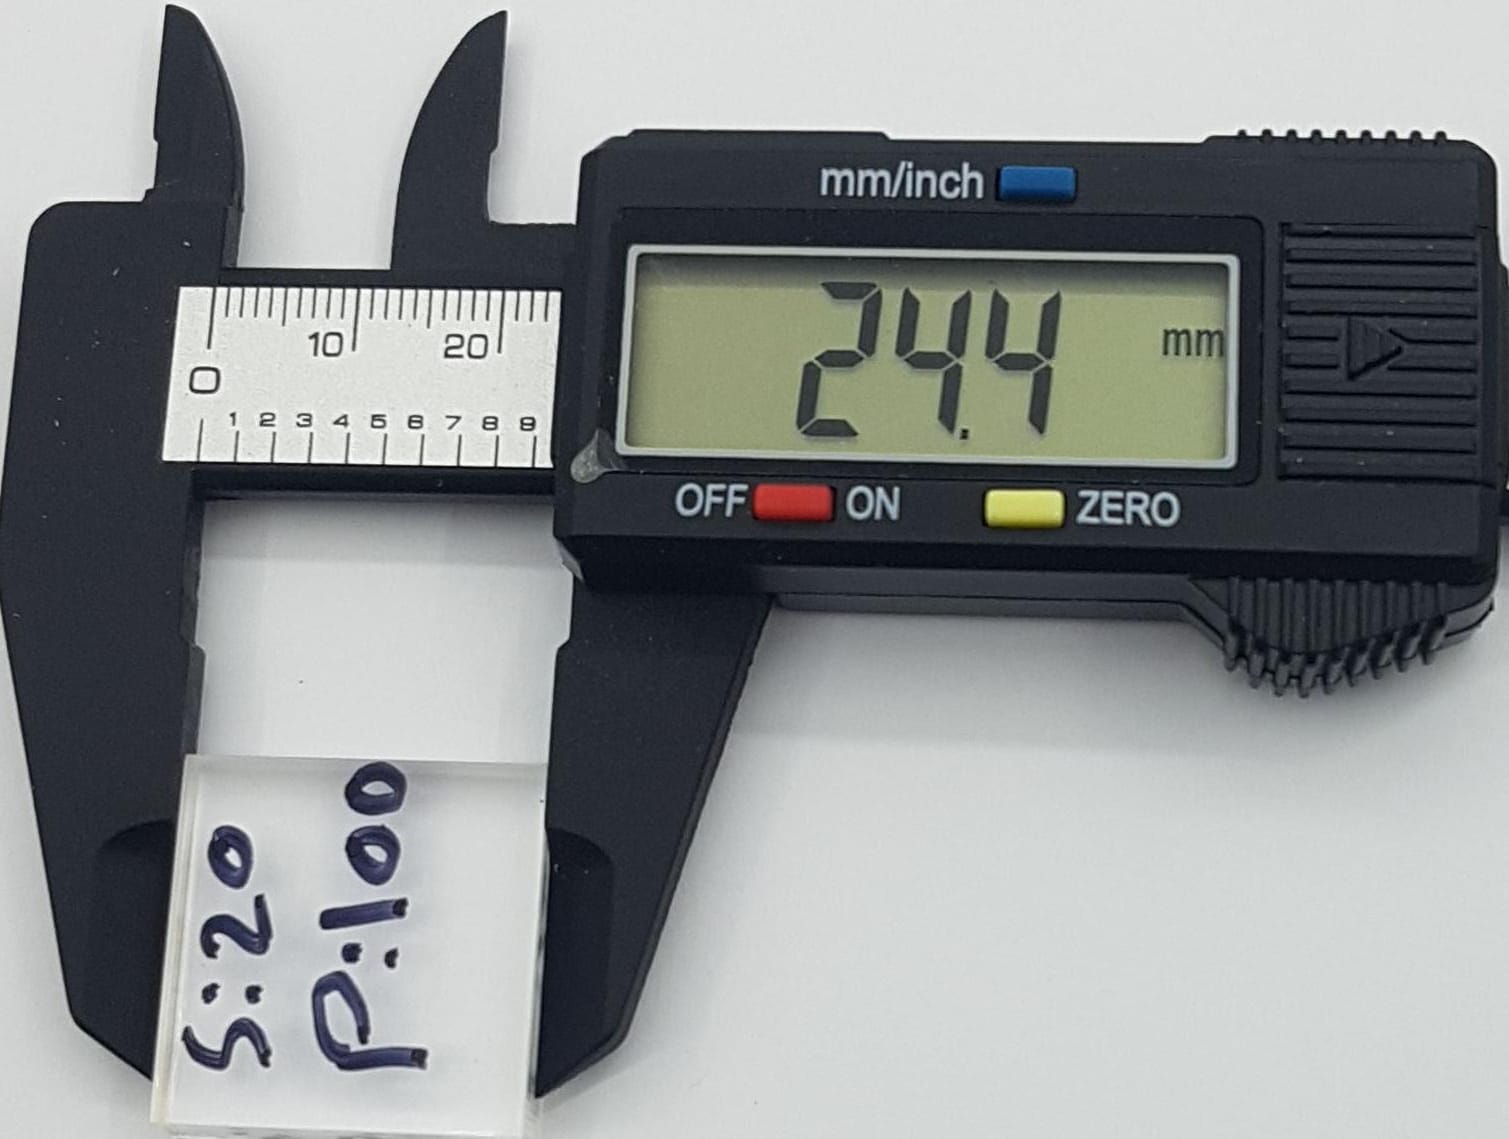
from this simple test we found out that a speed of 20mm/s and power of 80% and 3 passes would cut a 6 mm acrylic sheet easily in addition we measured the clearence that the laser cut more than the design
for the most of the parts the clerance wa less than the design by 0.5 means for this design we have a 25mm X 25mm square and we got a 24.5mm X 24.5mm square
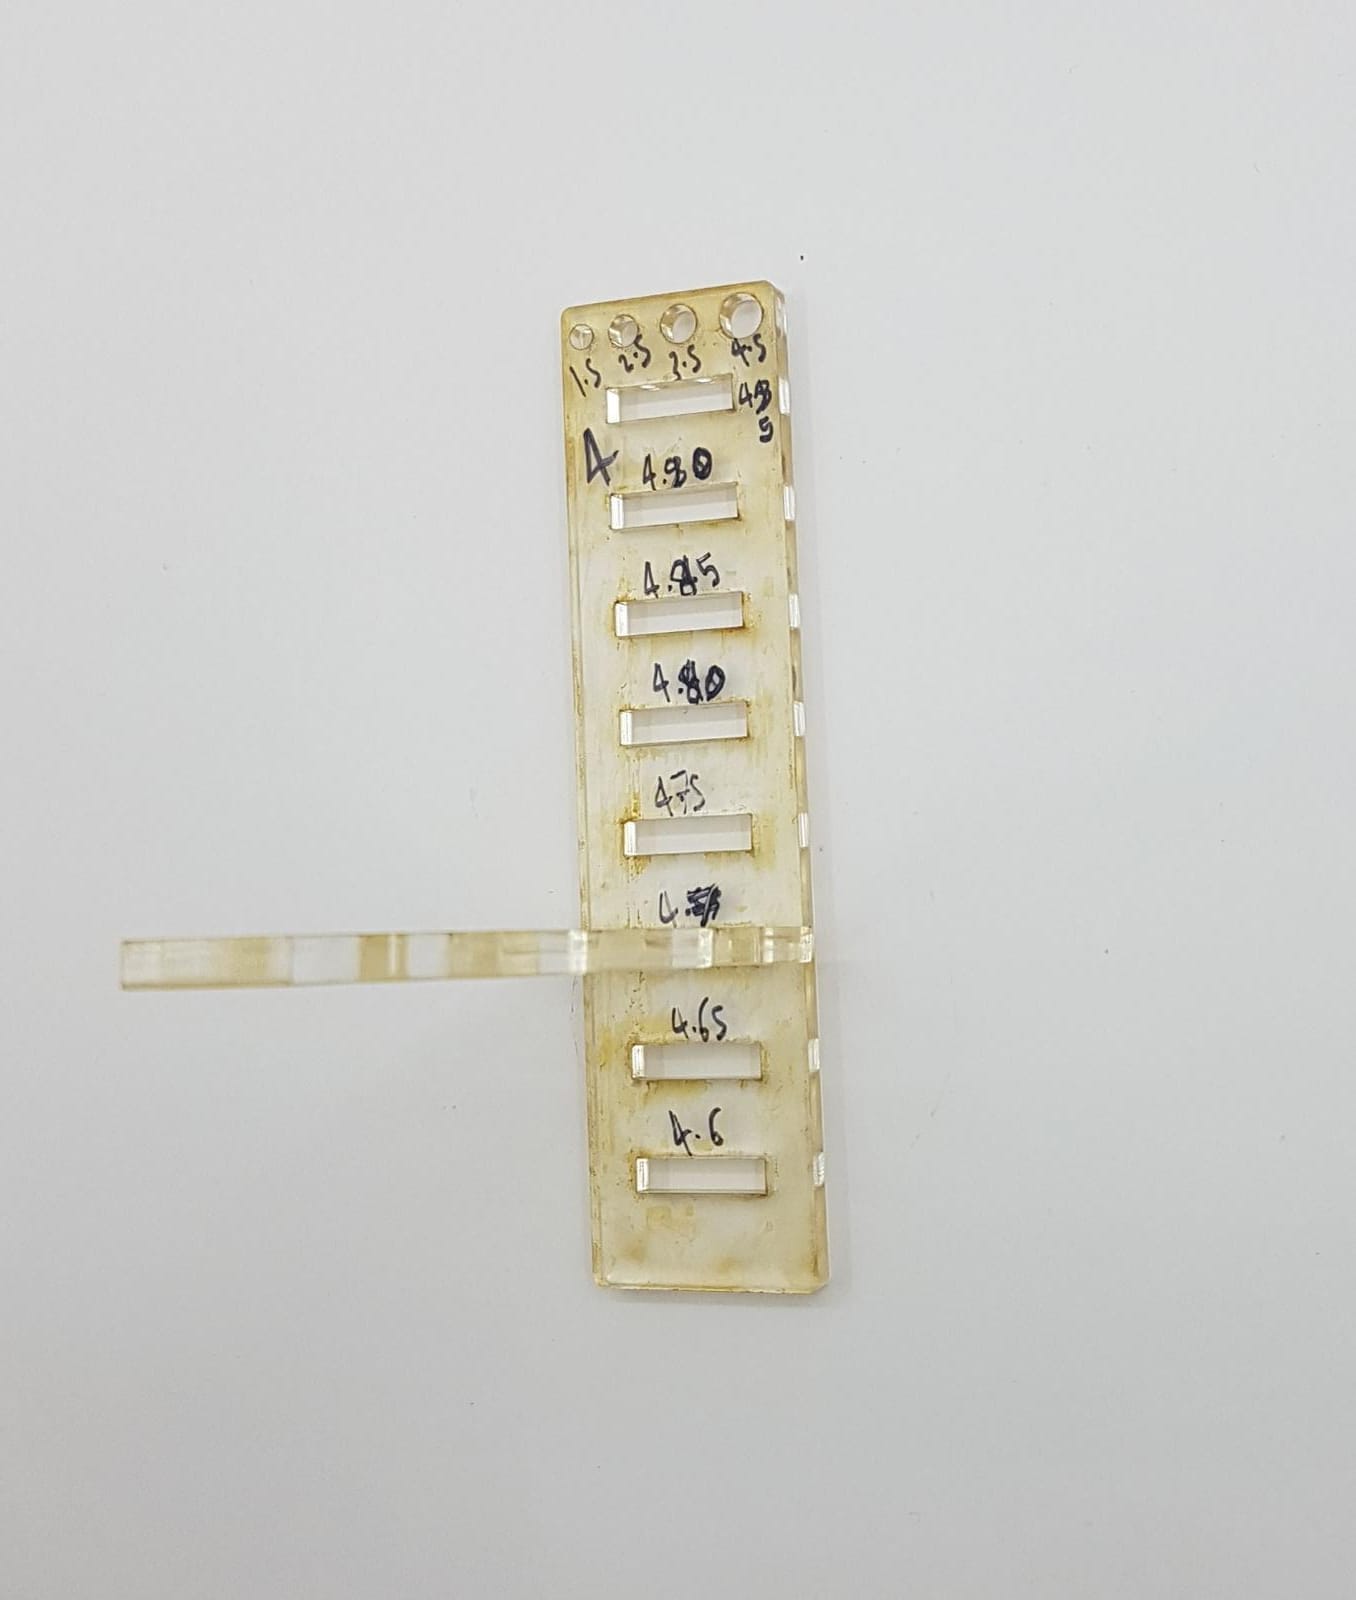
Female and male joint
Design part:
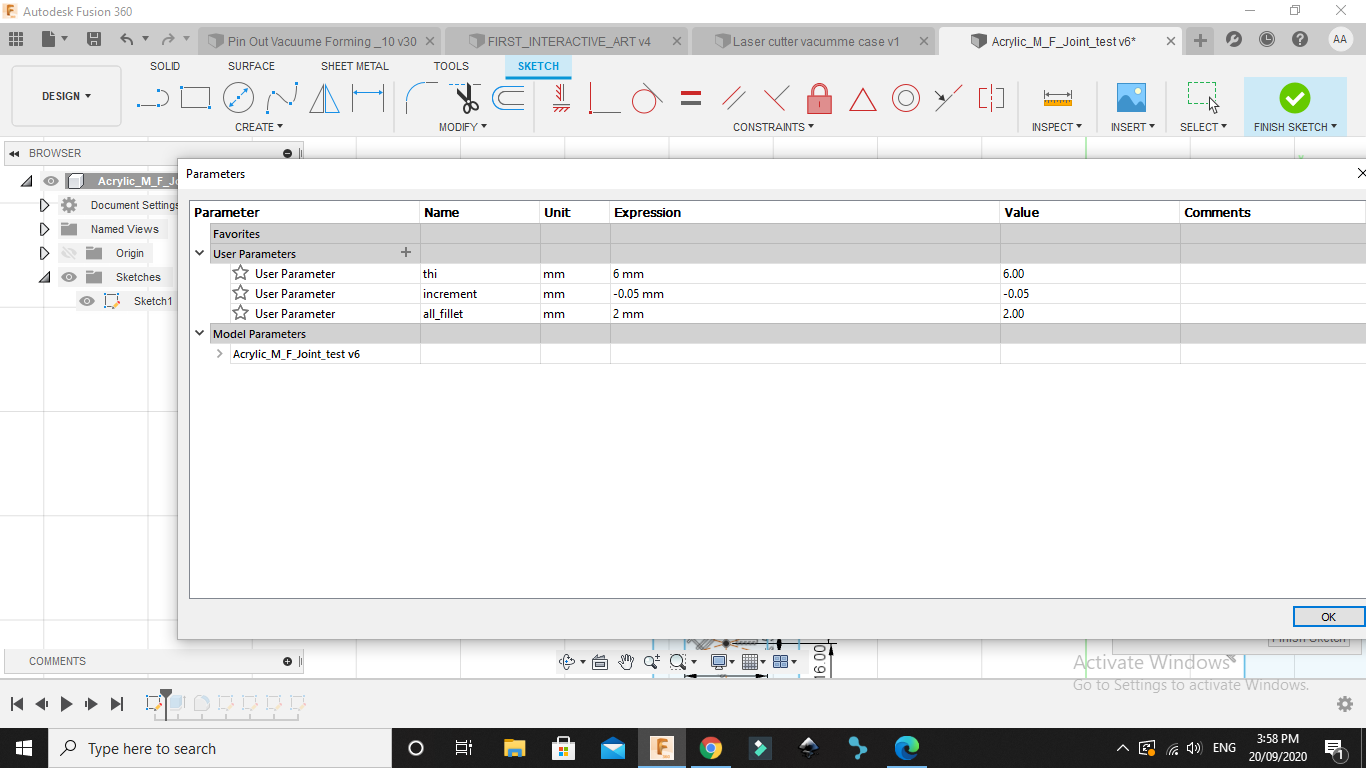
First of we all we started by entering some constant values in the parametric table
then for this joint we made it 20*6 for the male part in “width” and for the female part in “width and hight” we started with 20 by 6 then reduced the female part by 0.35 each time
This is the male width part
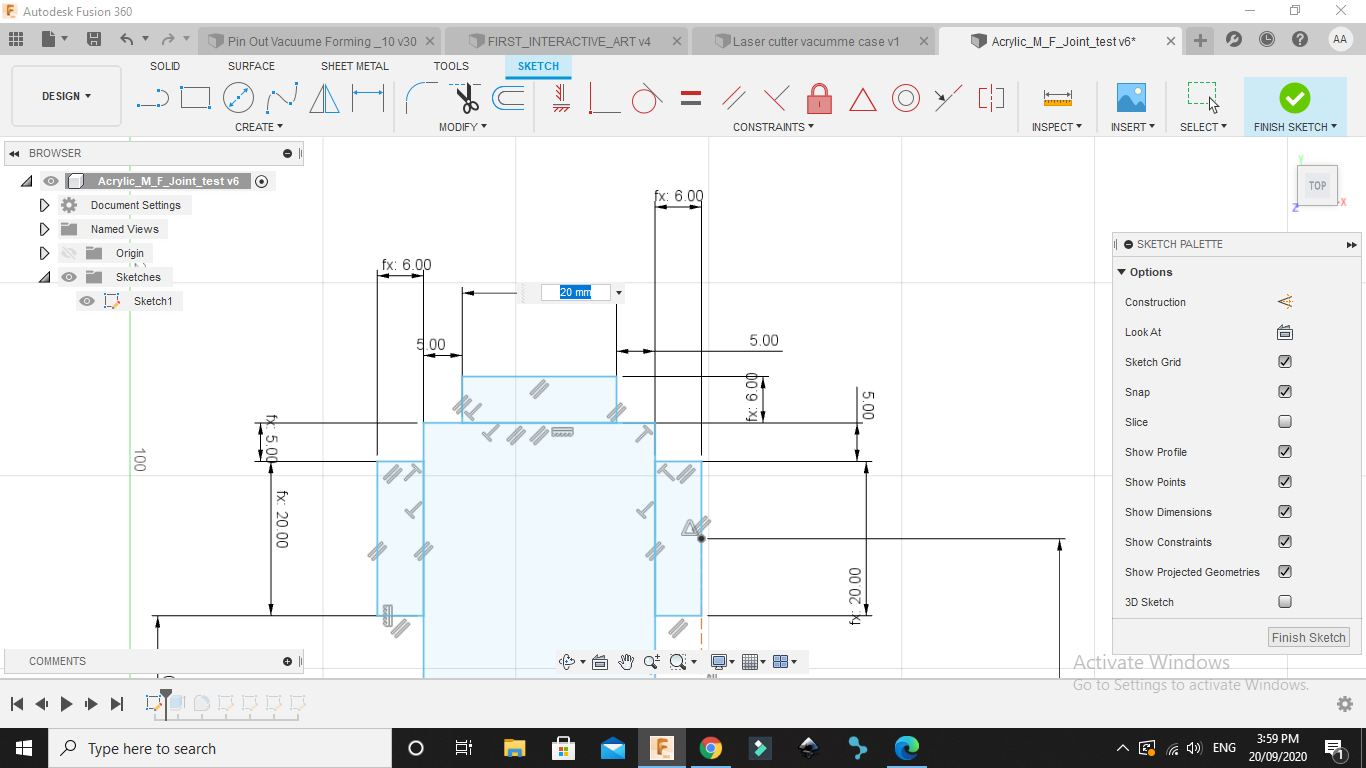
this is the female width part
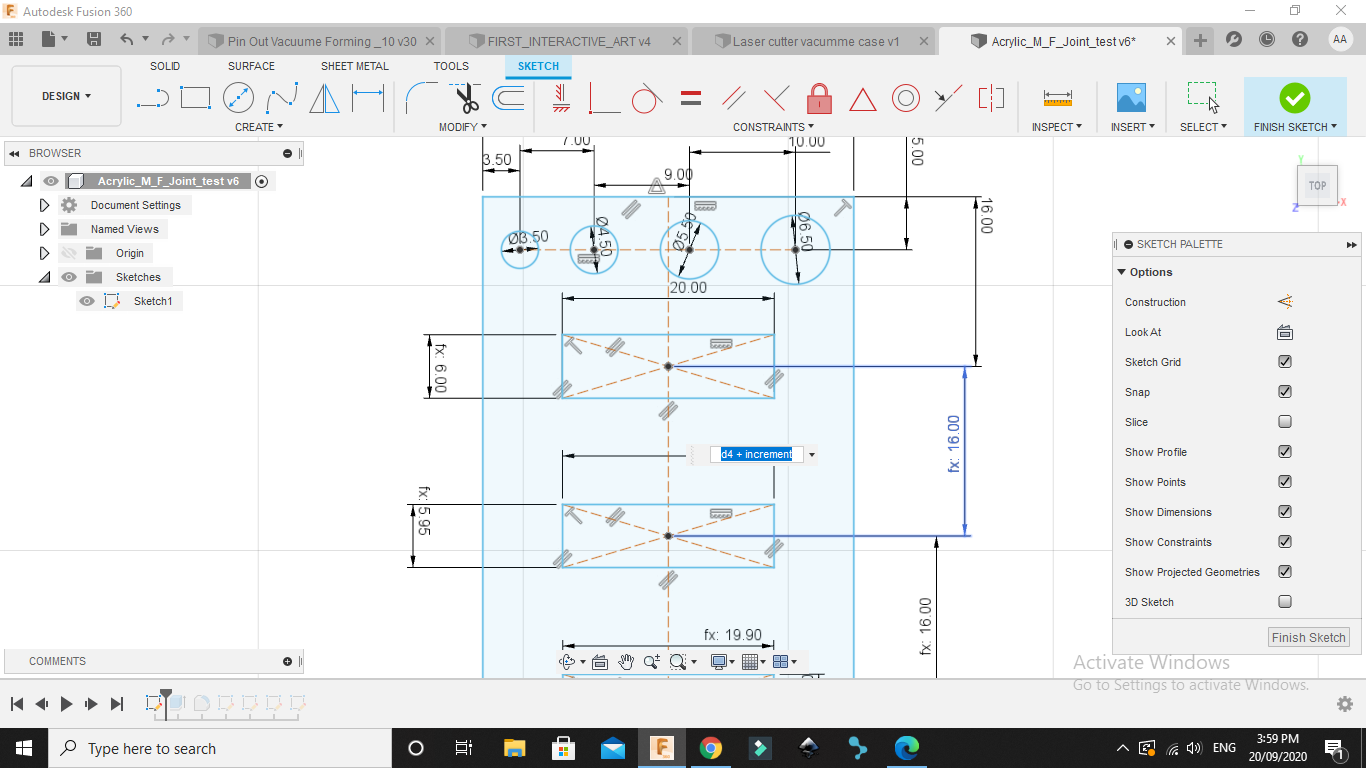
this is the female hight part

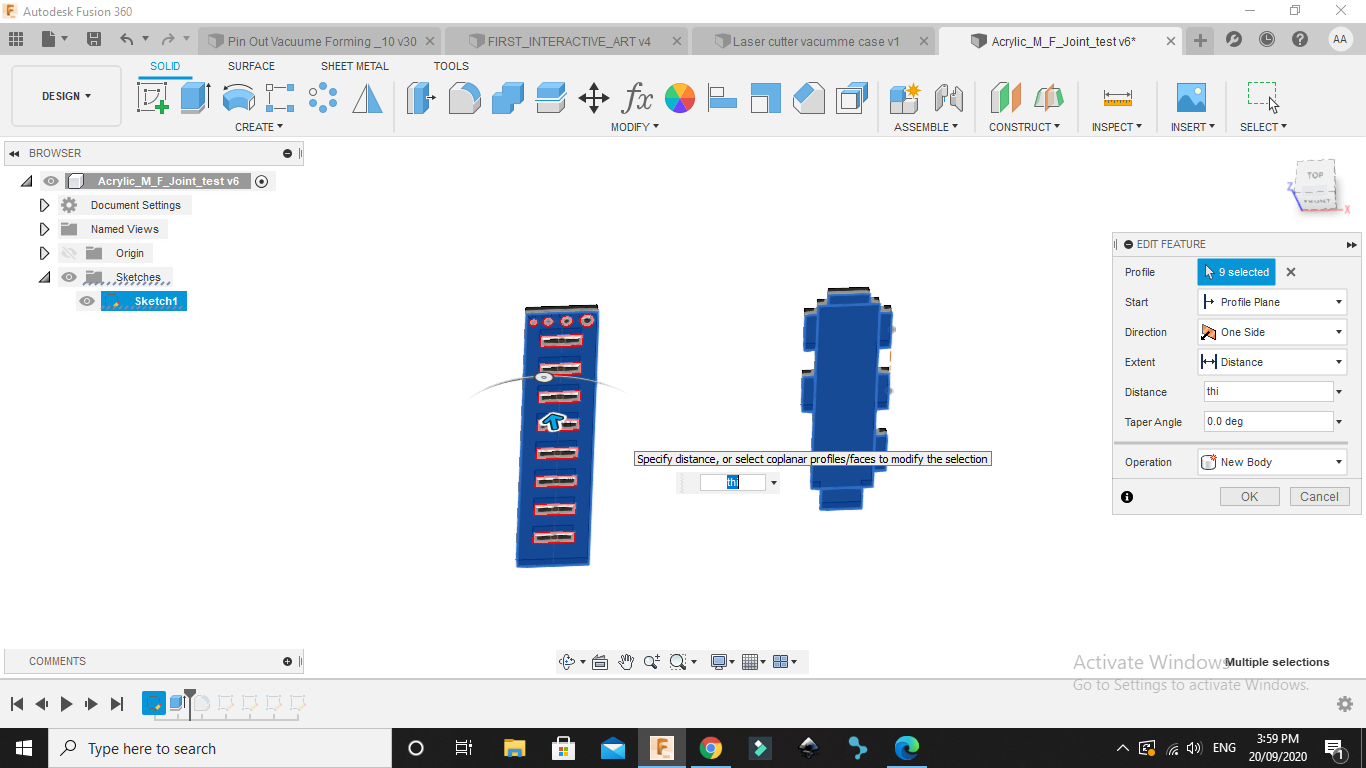
After that we extruded the design by the thickness of the material which is 6mm Acrylic
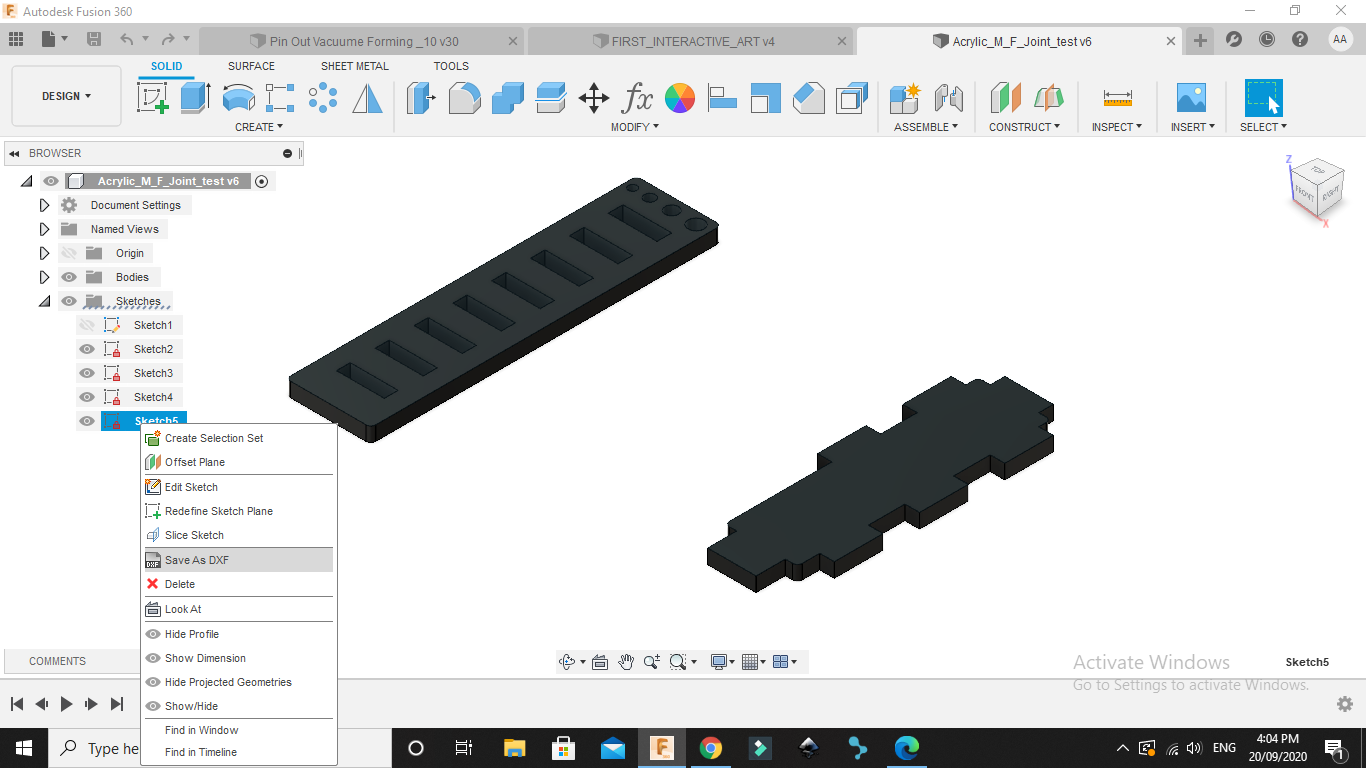
Finally we created a sketch on the face and exported it as .DXF
Practical Part :
To set up the speed and power for cutting we made some tests and found that speed 20mm/s and power 55% and three passes. For this we made the previuos test.
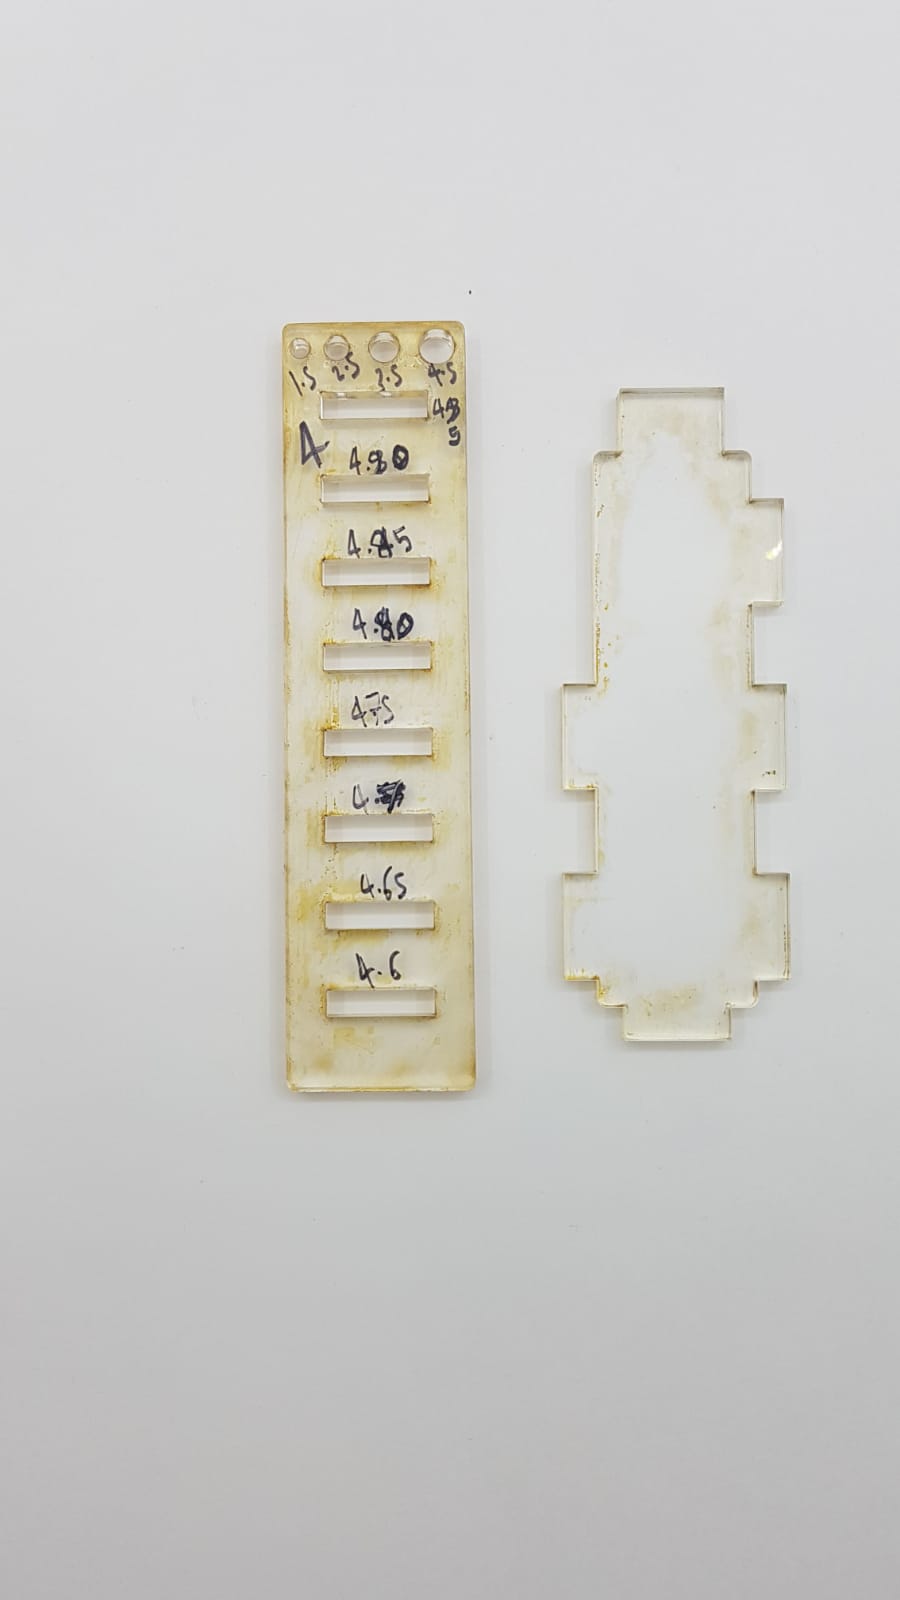
from the test we found out that the best fit is 47mm for the width and 5.7mm for the hight so if we decreased 0.3mm that would be a good fit
Engraving test
For this test we found that a 50% power and 900mm/s is the best settings
Focus test
form this test we obeserved that the focus changes depending on the distance between the lenz and the material so from this test we found that our focul point is 8.4 mm away from the material this was possible using Trigonometry
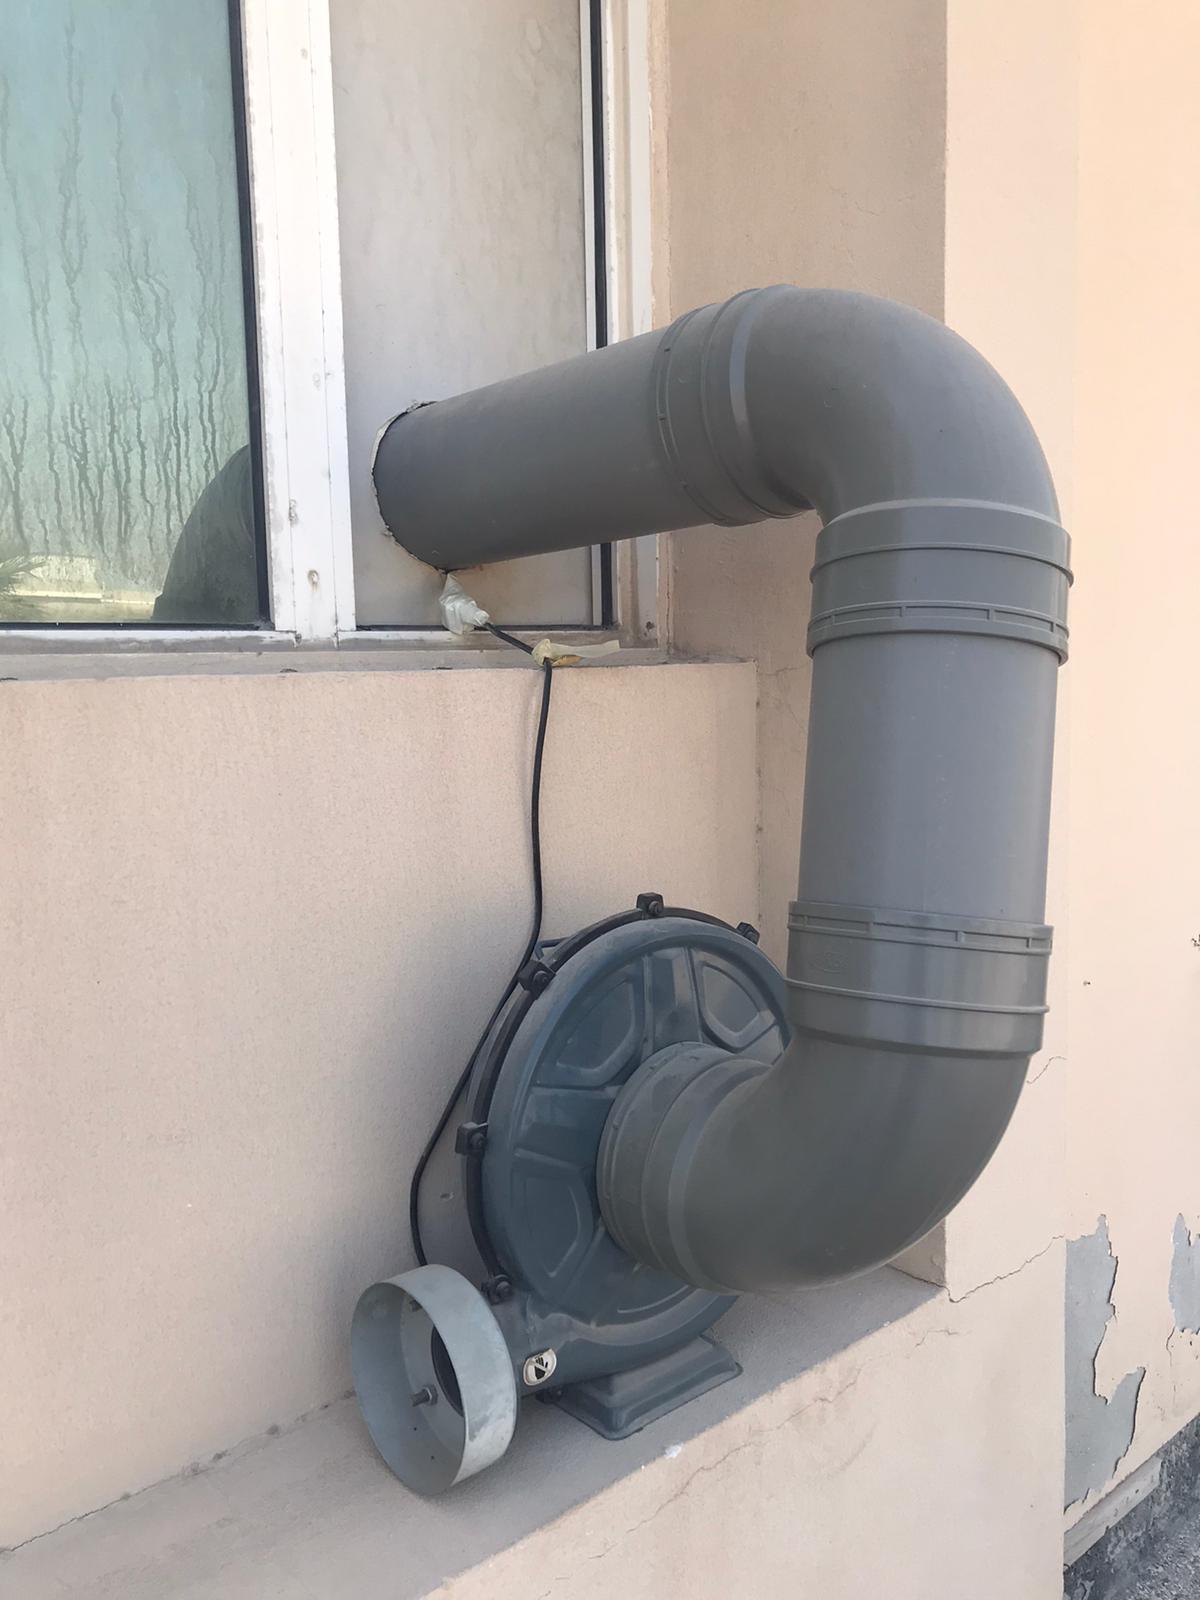
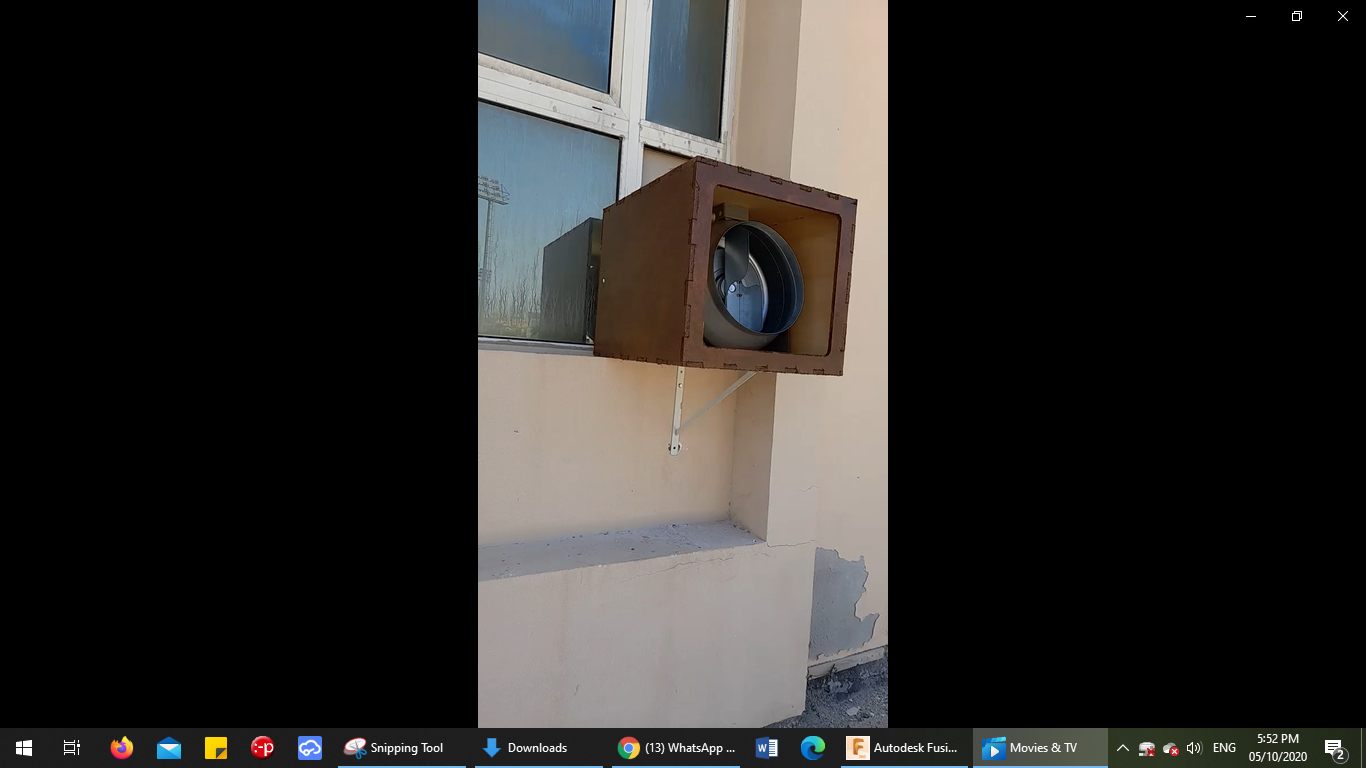
Note
note that we had a problem in the suction of the laser cutter so we upgradet the suction machine to a more powerful one.